DISCLAIMER: The below design involves potentially fatal electrical wiring. Use common sense in handling electricty: unplug devices when testing, and keep your hands clear when testing it for the first time. If you don't have common sense, start with studying the National Electric Code (NEC).
Parts List:
Tools:
There are several ways to change this for cost, size, and complexity
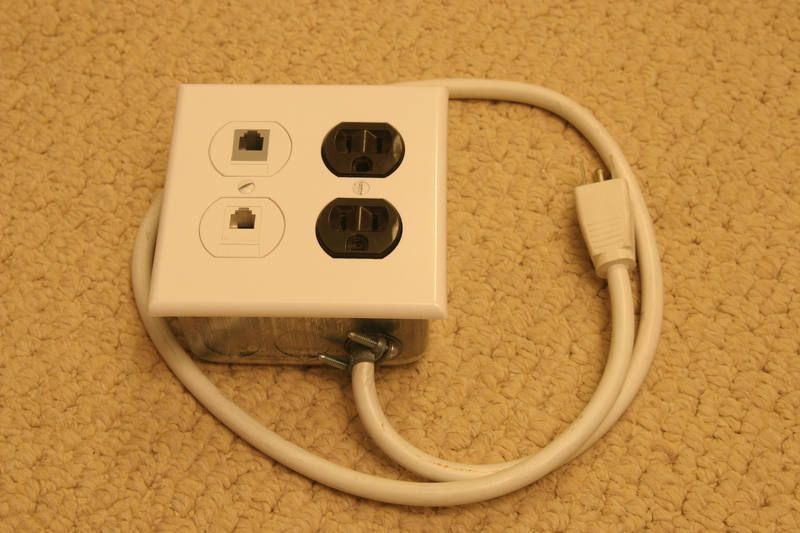
The version I describe here is my deluxe version. I splurged and used an 2-port duplex insert for the RJ12 connections. It's more complicated since you need a 110-type punch down tool to wire up the RJ12 connectors that I used, but it sure is pretty. You can substitute just about any other method of getting phone jacks on the box.
Smaller versions can be done by cutting a power cord in half to remove the need for an outlet, and reducing the box to a single gang. This also lets you use a standard 2-port telephone wall plate, where the jacks are molded directly into the cover plate itself.


The 5V supply is a 9V wall wart regulated to 5V. It MUST be regulated. Keeping the ground isolated is important from creating ground loops which will burn out the low voltage 1-wire system. Things probably ought to be fused, too. More recently, I have created USB and PS/2 cables to tap into the computer's 5V supply, reducing clutter. This is not nearly as safe and isolated as the wall wart, but since the DS9097U already shares ground with the computer chassis, this is safe from creating any ground loops in your system. The isolated ground is important if you're trying to inject 5v from somewhere other than the computer. IMPORTANT: I think that USB ports are current limited, so shorting them out shouldn't do anything bad, but most PS/2 ports are NOT current protected, so if you short it out by accident, you're likely to end up with a dead computer, or at least dead ps/2 ports.
Grounding the metal box is important for safety, incase something goes wrong and shorts out. The box above isn't as safe as it could be as there is no ground.
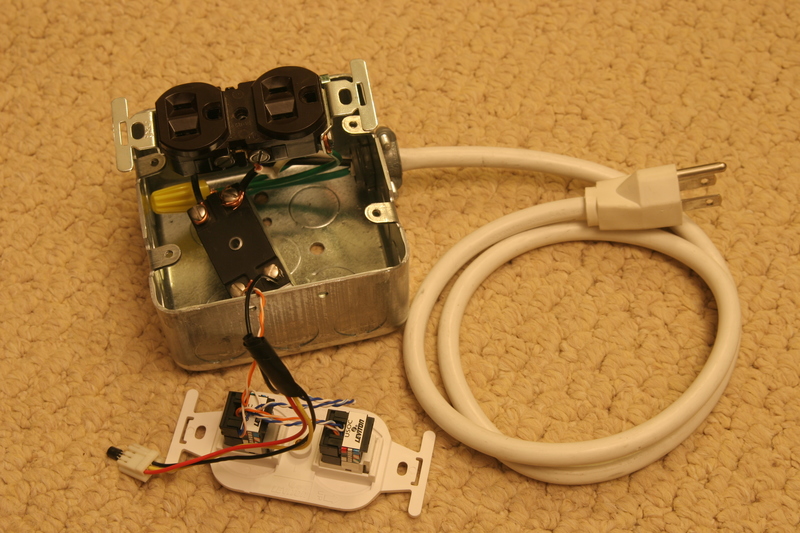
The solid state relay is screwed down through a hole drilled in the back of the box. I would not recommend using zip ties because they could break and lose components rattling around is definitely not a good idea.
I use an extra-deep handy box to give me extra space between the contacts on the telephone jacks and the solid state relay. All in the name of safety.
I use a SIP connector and insert the to-92 pins into it as far as it will go. It has a few limitations: minimal corrosion resistance, and no vibration resistance. At least all the contacts are enclosed. Other alternatives are to solder directly to the wires, but that causes strain relief and insulation problems.
What's the wiring? How's it connected? Here's a quick schematic:
                |-------------
5v--------------|+
                |  solid state relay
             ---|-
             |  |-------------
             |
             |
             |
             | PIO
           |/
ctrl(DQ)---|
           |\
             |
             |
gnd----------
and that's it! incredibly simple. It's necessary to have the 1-Wire
switch on the ground side of the relay, since all it ever does is either
leave PIO floating or pull it low (to ground).
Note that you really need to use a solid state relay. Most mechanical relays pull more current than the switch can sink; 4mA. You can get used/surplus relays from places like http://www.allelectronics.com/ for $5-$15, depending on maximum amp rating. The specific relay package you see here comes in 5 and 10A versions.
If you do this more than once, you'll probably want a set of test tools.
1-Wire polarity tester. I wired up two LED's; one red, one green. You could probably find a red/green single package LED, but that's what I had lying around the house. Add a 220 ohm resistor, and you have green for good, red for reversed polarity and off for bad wiring.